
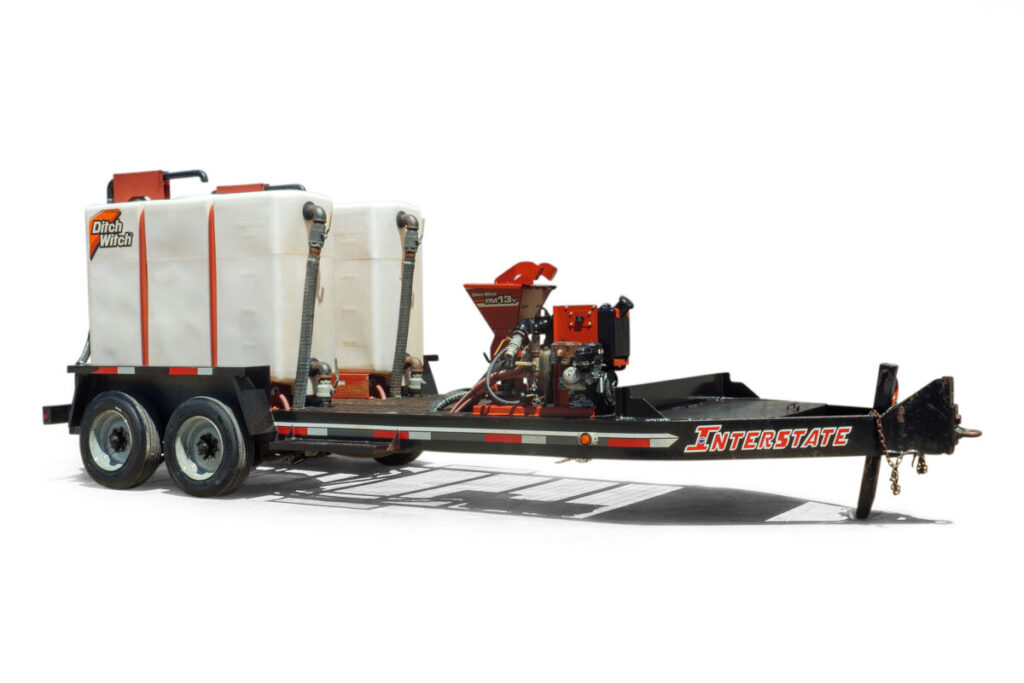
I. Purpose & Scope
To safely and effectively provide instruction on the inspection and proper use of Mud Mixer.
II. Definitions
Standard PPE – High Viz Garment, Hard Hat, Z-87.1 Safety Glasses, Gloves, Pants, Work Boots
III. Process
NOTE: Work instruction does not supplement the manual. For specific instructions for the exact model please refer to the owner’s manual.
A. Potential Hazards
- Fire or Explosion Hazard
- Electric Shock Hazard
B. PPE
- Standard PPE
C. Inspection
- Check engine oil at dipstick before each use. If low, add GEO until oil level is at highest line on dipstick.
- Check air filter element before each use. Replace element if it is dirty or damaged.
- Remove air cleaner cover nut and air cleaner cover.
- Remove wing nut, air cleaner elements (paper and foam), and air cleaner elbow packing and separate them.
- Inspect elements for wear and replace if damaged.
- Inspect air cleaner elbow packing for deterioration and replace if damaged.
D. Use
Lifting
- Lifting points are identified by lifting decals. Lifting at other points is unsafe and can damage machinery.
- Use crane capable of supporting equipment’s size and weight. Lift mixing tank by attaching lifting devices at lift points and joining at a common lift point.
- Lift mixing unit by attaching chains to lift points on top of pump.
- Bolt base to truck or trailer bed using provided holes.
- If mounting without a base, ensure pump coupler is covered.
Mixing Fluid
- Ensure valve in suction line and at least one valve on the pressure side of the pump is open.
- If necessary, choke cold engine.
- Move throttle to half open.
- Start engine.
- For electric start units, turn ignition switch to start position and release when engine starts.
- For rope start units, turn engine stop switch to ON and pull rope.
- Open chock after engine is warm.
- Open tank jet valve and mixing venturi valve.
- Start engine on mixing pump.
- Partially open dry chemical hopper valve. Listen for noticeable “suction” sounds.
- For dry chemicals, open sack using bag ripper located inside dry chemical hopper and pour chemicals into hopper.
- Open dry chemical valve slowly.
- For liquid polymer and other liquid chemicals, pour needed amount of additive into a suitable container, insert want into container.
- Open liquid chemical valve slowly.
- Open fillwell on top of tank and check fluid in tank to ensure that chemicals are mixed correctly.
- If clumps of chemical or polymer can be seen in fluid tank, reduce the rate at which materials are added.
Transferring Fluid
- Connect mixing pump hose to drilling unit.
- Open discharge valve of mixing pump, adjust engine throttle to full to purge all air from the line when starting drilling fluid pump on drilling unit. After flow is stable, adjust throttle to give desired flow rate to drilling unit (approximately half throttle).
Operating in Cold Weather
- Use pump to keep drilling fluid circulating at all times, even during transport to and from the jobsite.
- If possible, use all drilling fluid in tank before transporting unit.
- For cold weather storage, drain tank and ensure all fluid system valves are open. Also open drain valve on pump.
E. Maintenance
- Spray water onto equipment to remove dirt and mud.
- Disconnect and store hoses and cables.