
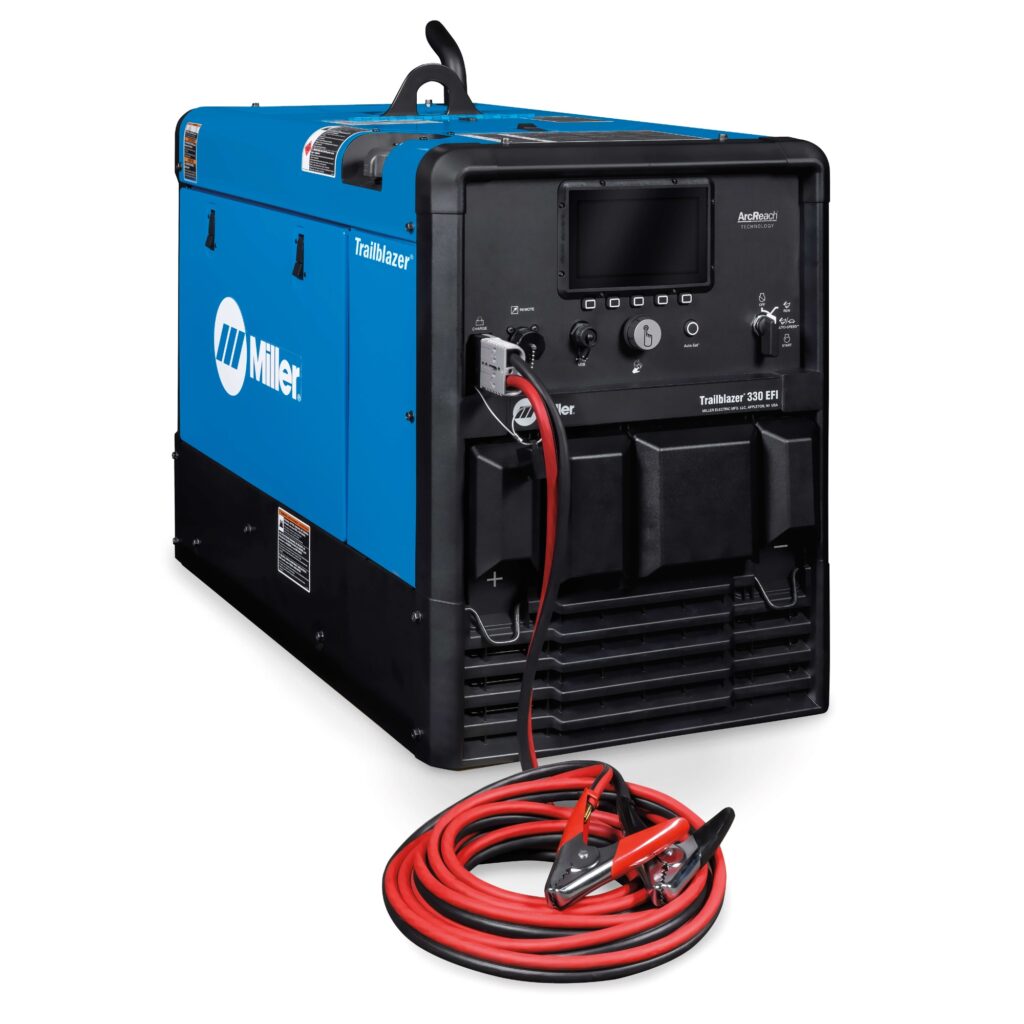
I. Purpose & Scope
To safely and effectively provide instruction on the inspection and proper use of welders.
II. Definitions
Standard PPE – High Viz Garment, Hard Hat, Z-87.1 Safety Glasses, Gloves, Pants, Work Boots
III. Process
NOTE: Work instruction does not supplement the manual. For specific instructions for the exact model please refer to the owner’s manual.
A. Potential Hazards
- Arc hazard
- Exhaust fumes and gases
- Burn hazard
- Electric hazard
- Magnetic (EMF) field hazard
- Exhaust hazard
- Fire and Explosion hazard
- Moving parts hazard
B. PPE
- Standard PPE
- Welding helmet of proper grade of filter plate
- Woolen clothing
- Flame-proof apron
- Flame-proof gloves
- Leather leggings
- High boots
C. Inspection
- Fill the tank with clean, fresh, lead-free gasoline. Observe fuel gauge while filling to prevent overfilling.
- Stop fueling once the fuel gauge reads full. Do not top off tank. Be sure to leave filler neck empty to allow room for expansion.
- Check the oil level before starting the engine. If it is not up to the full mark on the dip stick, add oil as required. Make certain that the oil filler cap is tightened securely.
- Output Ranger Selector and Polarity switches handles should be turn from maximum to minimum setting twice before starting to weld.
D. Use
Lifting
- A lift bail is mounted to the machine and should always be used when lifting the machine.
- Lift only with equipment of adequate lifting capacity.
- Be sure machine is stable when lift.
- Do not lift this machine using lift bail if it is equipped with a heavy accessory such as trailer or gas cylinder.
- Do not lift machine if lift bail is damaged.
- Do not operate machine while suspended form lift bail.
Starting Engine
- Be sure all Pre-Operation Maintenance has been performed.
- Remove all loads connected to the AC power receptacles.
- Always pull the choke control out when starting the engine; cold, warm or hot.
- Turn the engine switch to the “start” position and crank the engine until it starts.
- Release the switch as soon as the engine starts, slowly return the choke control to the full “in” position (choke open), and turn the switch to the Auto Idle position.
- Do not turn the switch to the “start” position while the engine is running because this will cause damage to the ring gear and/or starter motor.
- After running at high engine speed for 10-14 seconds, the engine will go to low idle.
- Allow the engine to warm up by letting it run at low idle for a few minutes.
Stopping the Engine
- Remove all welding and auxiliary power loads and allow engine to run at low idle speed for a few minutes to cool the engine.
- Stop the engine by placing the engine switch to the “OFF” position.
E. Maintenance
- At the end of each day’s use, refill the fuel tank to minimize moisture condensation in the tank. Running out of fuel tends to draw dirt into the fuel system.
- Check the crankcase oil level and add oil if indicated.
- Blow out the machine with low air periodically.
IV. Reference Documents
225 Ranger Welder Maintenance Log
225 Ranger Welder Lockout Tagout