
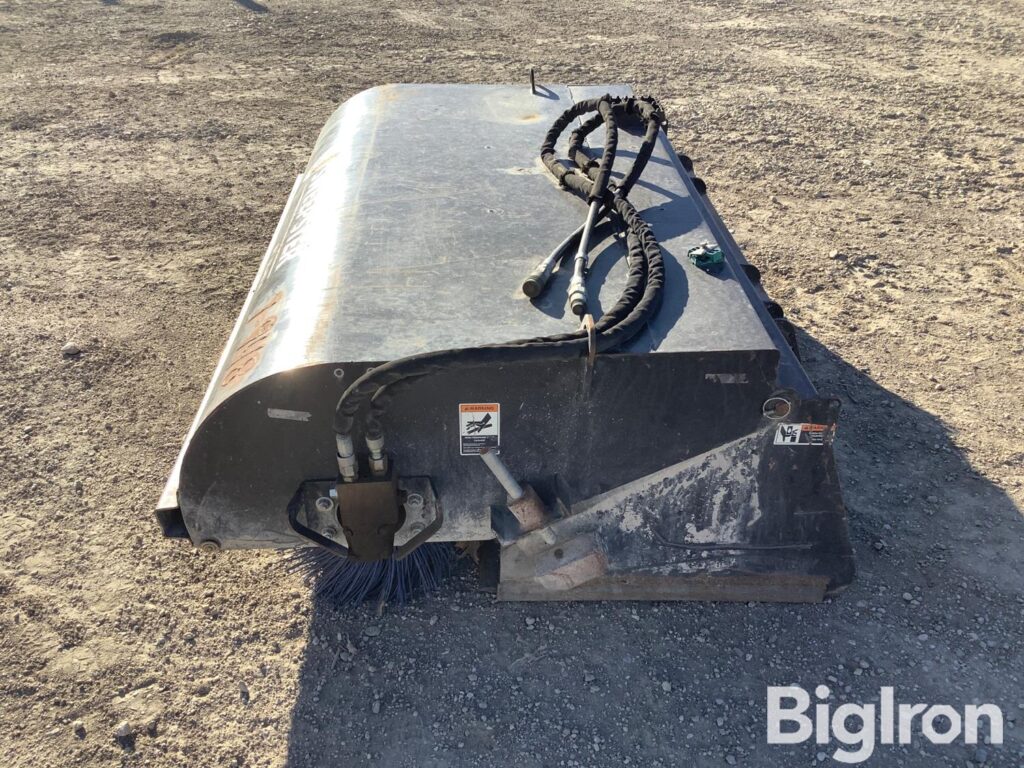
I. Purpose & Scope
To safely and effectively provide instruction on the inspection and proper use of sweepers.
II. Definitions
Standard PPE – High Viz Garment, Hard Hat, Z-87.1 Safety Glasses, Gloves, Pants, Work Boots
III. Process
NOTE: Work instruction does not supplement the manual. For specific instructions for the exact model please refer to the owner’s manual.
A. Potential Hazards
- Sound Hazard
- Vibration Hazard
- Flying Debris Hazard
- Fluid Under Pressure Hazard
- Dust Inhalation Hazard
- Pinch Point Hazard
B. PPE
- Standard PPE
- Hearing Protection
- Goggles or Face Shield
- Respiratory Protection (Recommended)
C. Inspection
- Check all hardware to ensure it is tight.
- Make certain that all locking pins, latches and connection devices are properly installed and secured.
- Check for damaged, fatigued, or excessively worn parts and remove or replace as required.
- Inspect machine for worn parts or cracked welds, and repair as necessary.
- Check brush pattern.
- Move the sweeper to a dusty, flat surface.
- Set the prime movers parking brake and leave the engine running.
- Start the sweeper at a slow speed and lower it so the boom arms bottom out. Run the sweeper in a stationary position for 10 – 15 seconds.
- Raise the sweeper and back away. Lower the sweeper to the ground, apply the brakes, turn the primer mover’s engine and remove the key. The brush pattern left in the dust should be 2″ – 4″ wide, running the full length of the brush.
- Adjust the brush pattern as necessary.
D. Use
Lifting
- Lifting points are identified by the lifting decals where required.
- Do not attach lifting accessories around cylinders or in any way that may damage hoses or hydraulic components.
- Bring lifting accessories together to a central lifting point.
- Lift gradually, maintaining the equilibrium of the unit.
- Tie down points are identified by tie down decals where required.
Starting and Stopping the Sweeper
- To start the brush, turn on the prime mover auxiliary hydraulics.
- To stop the brush, turn off the auxiliary hydraulic flow. To avoid damage, do not stop the sweeper at high engine speed. Decrease the engine RPM before turning off the hydraulic flow.
- Travel should be in the forward direction and brush rotation always away from the operator.
- To clean up pile at the end of the sweeping pass, throttle down the primer mover, drop the bucket cutting edge to the ground, and change the hydraulic flow (reversing brush rotation) and inch forward.
- Lift bucket approximately 1 inch and change broom rotation to the forward direction after pile clean up.
Adjusting Sweeper Brush Pattern
- Loosen the bottom 1″ nut.
- Adjust the top 1″ nut to set the pattern.
- Tighten (clockwise) to increase pattern.
- Loosen (counter-clockwise) to decrease pattern.
- When the pattern is set, tighten the bottom 1″ nut.
- Adjust the flaps so they just touch the ground.
- Repeat steps until the brush pattern is 2″ – 4″ wide.
Adjust Gutterbroom Height
- Lower the gutterbroom to the ground.
- Loosen the hardware holding the gutterbroom motor mounting plate.
- Turn the motor mounting plate to the left or right.
- Adjust the tension chain so it holds the gutterbroom in place.
- Tighten the hardware holding the motor mounting plate.
- A properly adjusted gutterbroom extends the main brush’s sweeping path, leaving no streaks between the two paths. The inside of the gutterbroom brush pattern must line up with the outside edge of the sweeper brush pattern.
- To adjust the gutterbroom swing loosen the nut, adjust the capscrew (turn it in for more swing or out for less swing) then tighten the nut.
E. Maintenance
- Replace any missing bolts or nuts with approved replacement parts.
- Check hydraulic system for leaks and tighten as necessary.
- Check prime mover hydraulic system to ensure an adequate level and cleanliness of hydraulic oil.
- Check for any loose hardware and tighten as required.