
I. Purpose & Scope
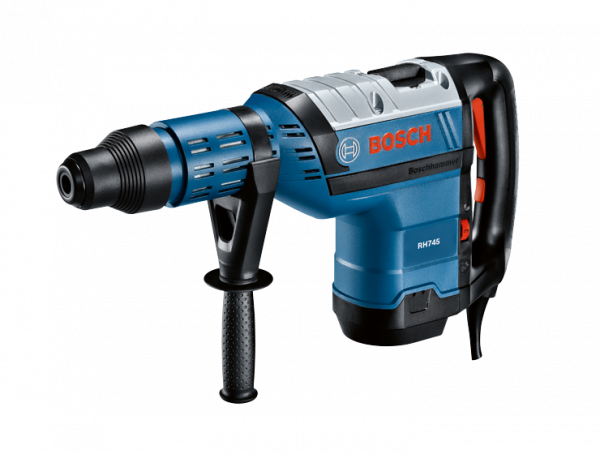
To safely and effectively provide instruction on the inspection and proper use of rotary hammers.
II. Definitions
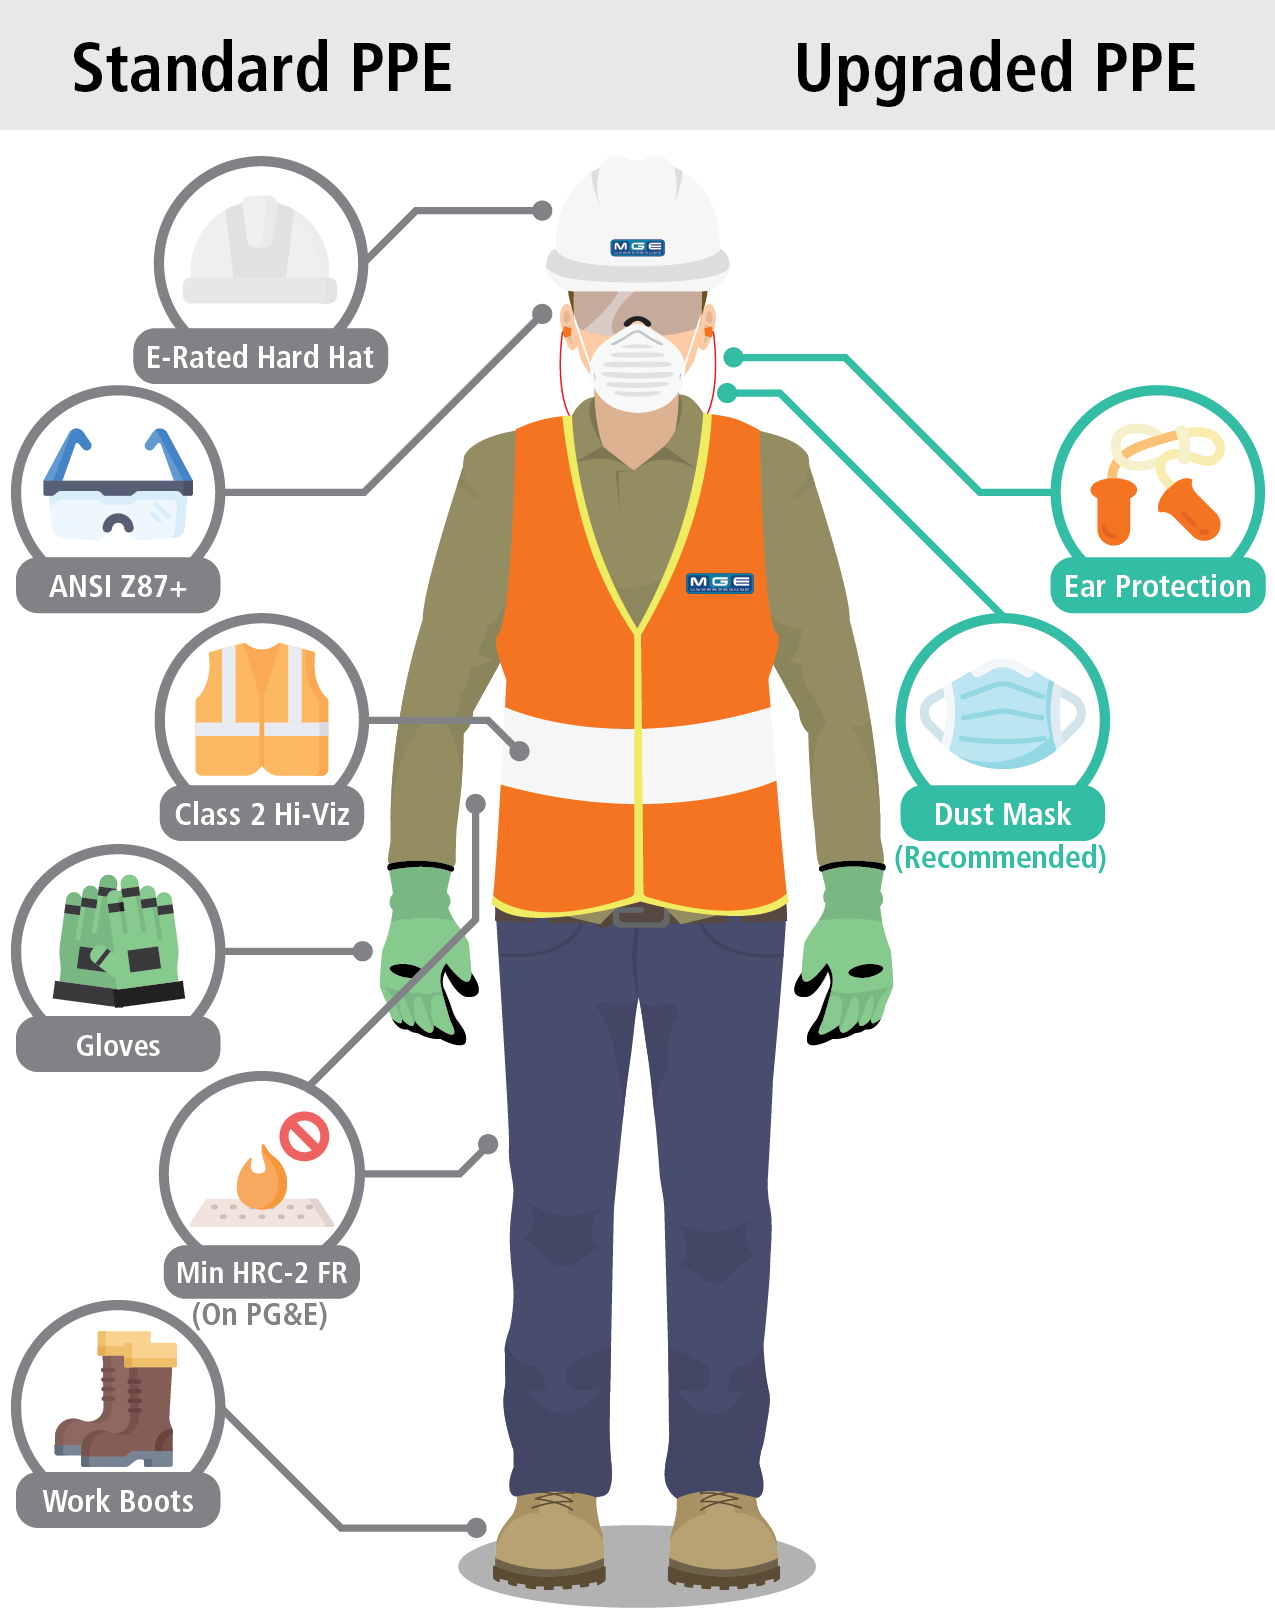
Standard PPE – High Viz Garment, Hard Hat, Z-87.1 Safety Glasses, Gloves, Pants, Work Boots
III. Process
NOTE: Work instruction does not supplement the manual. For specific instructions for the exact model please refer to the owner’s manual.
A. Potential Hazards
- Electric shock hazard
- Flame and/or explosion hazard
- Hearing hazard
- Flying object hazard
- Hazardous atmosphere
B. PPE
- Standard PPE
- Hearing Protection
- Respiratory Protection – Recommended
C. Inspection
- Inspect tool for cracks or damage
- Inspect the cord for cracks, damage or exposed wires.
- Inspect trigger and other buttons work and do not stick.
- Inspect the body of the tool for cracks or damage.
D. Use
- To turn the tool “On” in the drilling/hammering mode, squeeze and hold the trigger switch.
- To turn the tool “Off” release the trigger switch., which is spring loaded and will return to the “Off” position.
- Ensure the correct bit is used for the type of work being performed. (ex. waffle bit when working near encased utilities)
E. Maintenance
- Use an air compressor to clean the tool after each use.
(Performed by Authorized Personnel Only)
Manufacturer: Bosch
Model: RH745
| Potential Energy Hazards | Method of Neutralizing Energy | Permits Required |
|---|---|---|
 Electric Electric Air Air | LOTO Disconnect lines | Safe work |
| Pneumatic Gravity | Block/bleed Release pressure | Hot work |
| Mechanical Gas | Set fire watch Confined space permit | Line blanking |
| Hydraulic Water | Confined space |
Lockout (Shut-Down Procedure)
- Notify all affected personnel.
- Remove device from electrical source.
- Lockout the plug.
Start-up Procedure
- Notify all affected personnel that equipment is operational and removal of lockout will occur.
- Remove all tools, equipment and debris from the area.
- Remove lockout from the plug.
- Plug equipment into a 3-prong receptacle and test equipment.