
I. Purpose & Scope
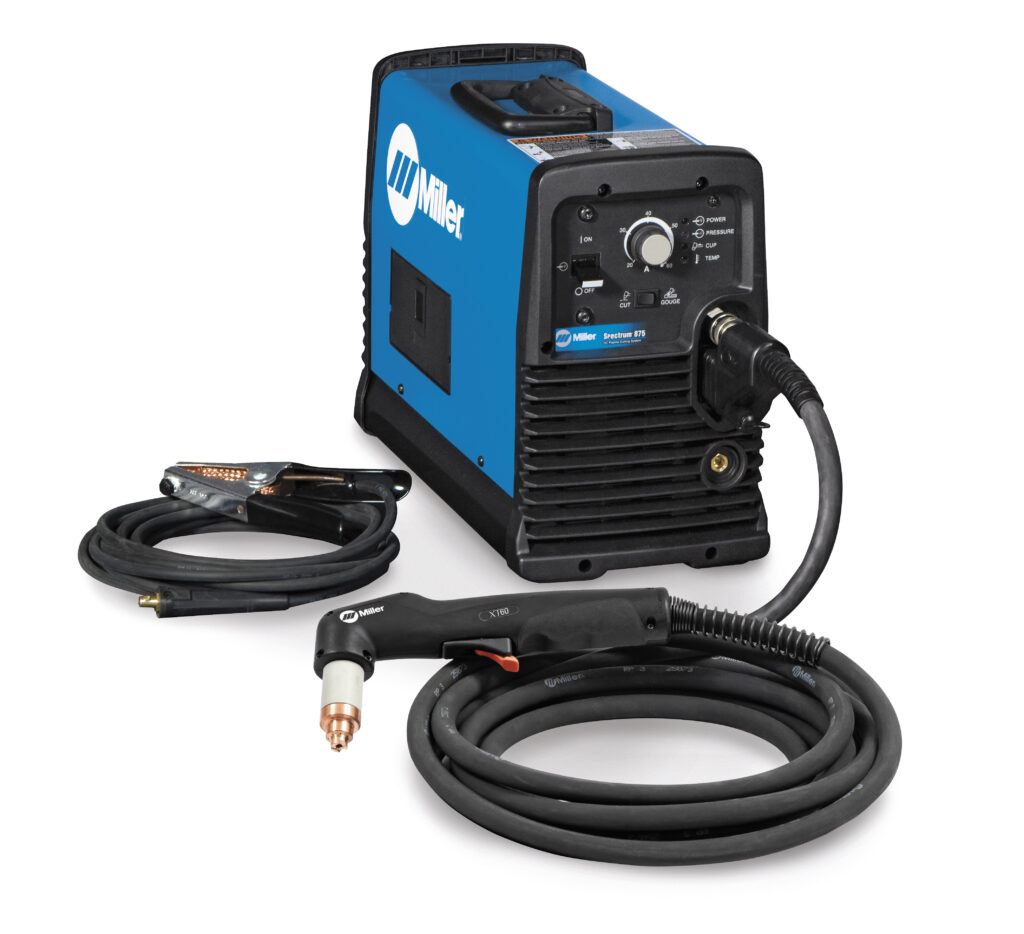
To safely and effectively provide instruction on the inspection and proper use of plasma cutters.
II. Definitions
Standard PPE – High Viz Garment, Hard Hat, Z-87.1 Safety Glasses, Gloves, Pants, Work Boots
III. Process
NOTE: Work instruction does not supplement the manual. For specific instructions for the exact model please refer to the owner’s manual.
A. Potential Hazards
- Electrical Hazards
- Fire or Explosion Hazards
- Moving Parts Hazard
- Compressed Gas Cylinders Hazard
- Toxic Fumes Hazard
- Arc Hazard
- Magnetic Field Hazard
- Noise Hazard
- Laser Radiation Hazard
B. PPE
- Standard PPE
- Hearing Protection
- Leather Apron
- Leather gloves
- Eye protection with appropriate lens shading
- FR clothing
- Cuff less trousers
C. Inspection
- Check indicator lights and fault icons. Correct any fault conditions.
- Inspect the shield or deflector center hold for roundness. Replace if no longer round.
- Inspect the shield or deflector gap between the shield and the nozzle for accumulated debris and clean away any material.
- Inspect electrode surface for wear or increased pit depth. Replaced if worn or pit depth is greater than 1.6mm deep.
- Inspect the surface inside the swirl ring for damage or wear and the gas holes for blockages. Replace if surface is damaged, or or any of the gas holes are blocked.
- Inspect the Torch O-ring surface for damage, wear, or a lack of lubrication. If the O-ring is dry, lubricate it and the the threads with a thin layer of silicone lubricant. If the O-ring is worn or damaged, replace it.
D. Use
Setting Up Equipment
- Plug in the power cord and connect the gas supply line.
- Turn OFF the system.
- Push the connector into the receptacle on the front of the power supply.
- To remove the torch, press the red button on the connector and pull the connector out of the receptacle.
- Insert the work lead connector into the receptacle on the front of the power supply.
NOTE: The receptacle is keyed. Align the key on the work lead connector with the opening at the top of the receptacle on the power supply. - Push the work lead connector all the way into the receptacle on the power supply and turn clockwise, approximately 1/4 turn, until the connector is fully seated against the stop in order to achieve an optimal electrical connection.
- Ensure that the work clamp and the workpiece make good metal-to-metal contact. Remove rust, dirt, paint, coatings, and other debris to ensure the power supply makes proper contact with the workpieces.
- For the best quality, attach the work clamp as close as possible to the area being cut. Do not attach the work clamp to the portion of the workpiece to be cut away.
Turn On the System
- Set the ON/OFF switch to the ON (I) position.
- Use the operating mode switch to select the type of work you want to perform.
- For cutting expanded metal, grates, metal containing holes, or any job that requires a continuous pilot arc. Using this mode to cut standard metal plate reduces consumable life.
- For cutting or piercing metal. This is the standard setting for normal drag-cutting.

- For gouging metal. (Note: Using this mode while cutting results in poor cut quality.)

- Locks the torch in the ON (fire) position. With this option selected, press the trigger to fire the torch. You can then release the trigger while continuing to cut. Press the trigger again to stop the arc. The arc also stops if you lose transfer.

- For cutting expanded metal, grates, metal containing holes, or any job that requires a continuous pilot arc. Using this mode to cut standard metal plate reduces consumable life.
Manually Adjusting the Gas Pressure
- For normal operations, the power supply automatically adjusts the gas pressure. If you need to adjust the gas pressure for a specific application, you can use manual mode to do so.
NOTE: Manual mode should be used by experienced users who need to optimize the gas setting (override the automatic gas setting) for a specific cutting application. - When you switch from manual mode to automatic mode, the power supply automatically sets the gas pressure and the amperage setting is unchanged. When you switch form automatic mode to manual mode, the power supply remembers the previous manual gas pressure setting and the amperage setting is unchanged.
- When the power is reset, the power supply remembers the previous mode, gas pressure and amperage settings.
- To adjust the pressure, press the automatic/manual pressure setting mode selector so that the LED next to the selector illuminates.
- Press the current/gas selector until the selection cursor is opposite the gas pressure setting in the status screen.
- Turn the adjustment knob to adjust the gas pressure to the desired level. Watch the arrow in the pressure bar as you adjust the pressure.
Adjusting the Current (amperage)
- Turn the adjustment knob to adjust the current for your particular cutting application.
- If the system is in manual mode, do the following to adjust the amperage.
- Press the current/gas selector until the selection cursor is opposite the amperage setting in the status screen.
- Turn the adjustment knob to change the amperage.
- If you wish to exit manual mode, press the automatic/manual pressure setting mode selector. The LED goes off.
NOTE: When you exit manual mode, the gas pressure resets to the factory-optimized value.
- When switching between manual mode and automatic mode, the power supply retains the amperage setting. When resetting the power, the power supply returns to the previous mode (automatic mode or manual mode) and remembers the previous amperage setting.
Operating the Safety Trigger
- Plasma arc comes on immediately when the torch trigger is activated. The plasma arc will cut quickly through gloves and skin.
- When ready to use the torch, flip the trigger’s safety cover forward (toward the torch head) and press the red torch trigger.
E. Maintenance
No maintenance required for this tool.