
I. Purpose & Scope
To safely and effectively provide instruction on the inspection and proper use of jumper cables.
II. Definitions
Standard PPE – High Viz Garment, Hard Hat, Z-87.1 Safety Glasses, Gloves, Pants, Work Boots
III. Process
NOTE: Work instruction does not supplement the manual. For specific instructions for the exact model please refer to the owner’s manual.
A. Potential Hazards
- Hazardous Atmosphere
- Flame and/or Explosion Hazard
- Electric Shock Hazard
B. PPE
- Standard PPE
C. Inspection
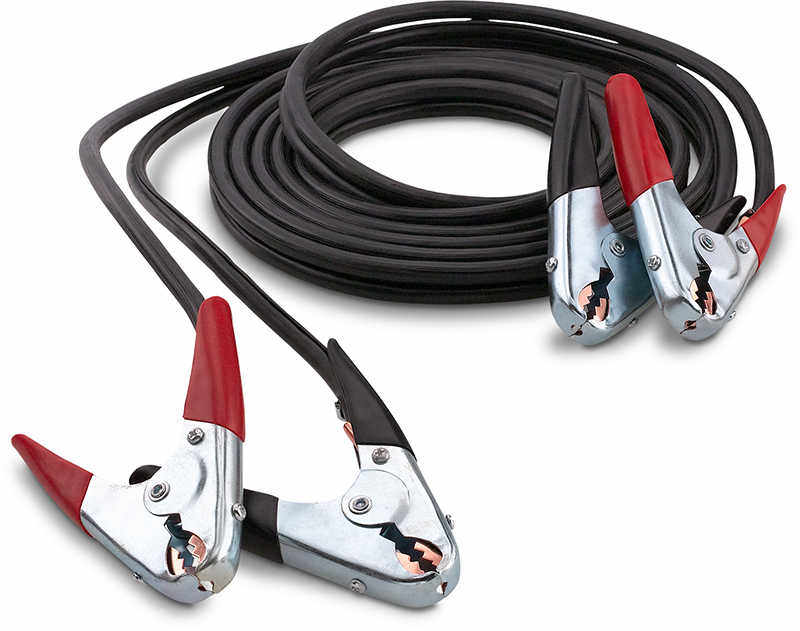
- Inspect clamps and ensure they are free of rust.
- Inspect insulation and ensure they are free of kinks, cracks and exposed wire.
D. Use
Warning: Do not enlist the help of a donor car with a higher-voltage battery than your because it could damage your vehicle’s electrical system.
- Switch off electrical components, such as the radio interior lights in both vehicles.
- Ensure both vehicles are in park with the emergency brake engaged and that the donor vehicle is off.
- Separate the jumper cables where none of the clamps are in contact with each other.
- note which battery terminal is positive and which is negative on the batteries in each vehicle. Positive terminals are usually marked with a plus sign and/or have a red plastic cover while negative terminals are marked with a minus sign and frequently have black covers. these colors correspond with the appropriate clamps on the jumper cables.
- If upon inspection you suspect the battery is frozen from cold temperatures, often indicated by a bulging appearance to the sides do not attempt to jump it because it could potentially explode.
- Attach one of the red clamps to the positive terminal of the dead battery and the other red clamp to the positive terminal of the donor battery.
- Attach the nearest black clamp to the negative terminal of the donor battery, then the other black clamp to the negative terminal of the dead battery or to an unpainted bolt on the engine block to create a ground.
- Start the donor car and allow it to run for a minute or two.
- Start the jumped car. If the car does not start after being jumped, try reconnecting the cables in case that one of them was not securely attached and repeat the process.
- Remove the negative cable on the jumped vehicle and then the donor vehicle.
- Unclamp the positive cable on the donor vehicle and then the jumped vehicle. Let the jumped vehicle run for at least 15 minutes before turning it off.
E. Maintenance
No maintenance required for this tool.