
I. Purpose & Scope
To safely and effectively provide instruction on the inspection and proper use of grease guns.
II. Definitions
Standard PPE – High Viz Garment, Hard Hat, Z-87.1 Safety Glasses, Gloves, Pants, Work Boots.
III. Process
NOTE: Work instruction does not supplement the manual. For specific instructions for the exact model please refer to the owner’s manual.
A. Potential Hazards
- Slip, Trip, Fall Hazards
- Flying Objects Hazard
B. PPE
- Standard PPE
C. Inspection
- Inspect for any damage and ensure all parts move as required.
D. Use
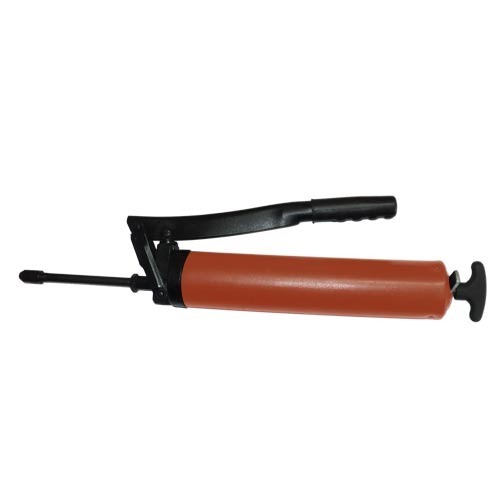
Loading the Grease Gun
- Unscrew Grease Gun Head from the barrel counter-clockwise.
- Pull back the plunger rod handle all the way back and lock it with the end cap.
- Remove the plastic cap from the open end of the Grease Cartridge and fully insert into the empty Grease Barrel Gun. Make sure the rim of the Cartridge is seated on the rim of the Barrel.
- Remove the metal Pull tab seal from the Grease Cartridge.
- Screw back the Grease Gun Head onto the Barrel, making sure to tighten only half-way, leaving 2-3 turns before the Head is fully tight.
- Disconnect the Plunger Rod from the End Cap
- Force the Plunger Rod in and out a few times in order to compress the grease and force out trapped air in the grease to come out from the loose connection between the Grease Gun Barrel and the Grease Gun Head.
- Hand tighten the Grease gun Head fully onto the Barrel.
- Start operating the Grease Gun Handle till grease starts flowing out continuously. If the grease is accompanied with air bubbles repeat steps steps to prime.
- Once all air bubbles are removed, fully tighten the Grease Gun Head onto the Barrel.
- Connect Grease Gun extension and Coupler onto the Grease Gun Outlet using a thread sealant such as Teflon, to make a seal proof connection.
- Start operating the grease gun.
E. Maintenance
No maintenance required for this tool.