
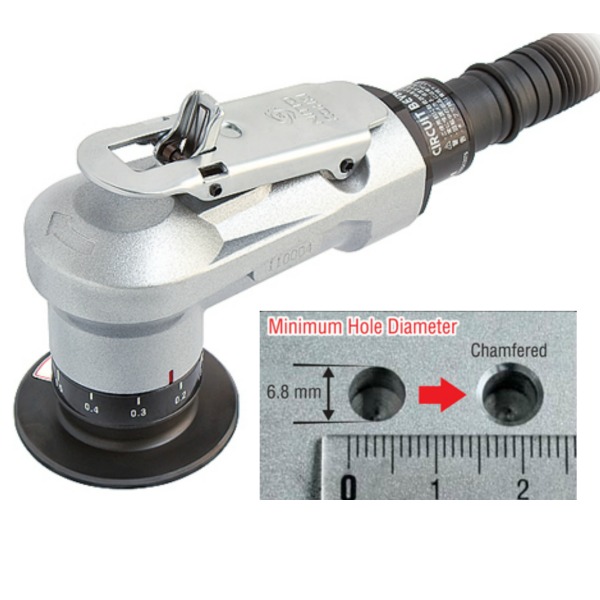
I. Purpose & Scope
To safely and effectively provide instruction on the inspection and proper use of chamfering tools.
II. Definitions
Standard PPE – High Viz Garment, Hard Hat, Z-87.1 Safety Glasses, Gloves, Pants, Work Boots
III. Process
NOTE: Work instruction does not supplement the manual. For specific instructions for the exact model please refer to the owner’s manual.
A. Potential Hazards
- Noise Hazard
- Hazardous Atmosphere
- Moving Parts Hazard
- Flying Debris Hazard
- Electric Shock Hazard
- Air Pressure Hazard
B. PPE
- Standard PPE
- Hearing Protection
- Respiratory Protection (recommended)
C. Inspection
- Check that screws are securely tightened.
- Check that protective cover or guard is securely in place.
- Check all parts are free from damage and tool runs as it should.
- Check that moving parts are properly adjusted for positioning and tightened.
- Check that parts are free from damage and properly mounted and that all other parts are in good condition for normal operation.
- Ensure cutter is securely mounted.
- Ensure spanner, wrench, etc., has been removed after any adjustments.
- Check cutting tool and accessories, etc., are in good operating condition without damage or deterioration before being mounted on tool.
D. Use
- Turn the start switch to OFF before connecting to the air supply line or replacing indexable insert.
Start and Stop AMB-0307
- To start, pushing he Valve Ring forward and turn it counterclockwise.
- To stop, turn the Valve Ring to “OFF” position.
Start and Stop AMBL-0307
- To start, release the lock lever and grasp the throttle lever.
- To stop, release the throttle lever.
Adjust Chamfering Levels
- Loosen the Hex Socket Head Cap Screw of the Head.
- Turn the Head to match the Guide line of Head with the scale of Eccentric Ring.
- If the head is in a difficult position to work with loosen the Hex Socket Set Screw of Eccentric Ring to adjust the head to a proper position.
- After adjustment, tighten the Hex Socket Set Screw firmly to prevent it from becoming loose during operation.
- Firmly install the Head on the end of Eccentric Ring without making any clearance and tighten the Hex Socket Head Cap Screw.
Adjustment of Radius Chamfering in Amount
- Fix a radius chamfering Indexable Inserts.
- Loosen the Hex Socket Head Cap Screw of the Head.
- Turning the Head, match the scale of the Eccentric Ring with the guide line according to the size of the radius chamfering Indexable Inserts.
- Set the Head to the edge of Eccentric Ring without clearance.
- Conduct a test cutting. Readjust the Hex Socket Head Cap Screw of the Head, so that sizes A and B become identical.
Adjust Chamfering Angle
- Loosen the Hex Socket Head Cap Screws (4 pcs) on both ends on the Plate Guide of Head.
- Move the Plate Guide so that the scale of desired angle can align to the Guide Pin.
- Tighten the Hex Socket Head Cap Screws.
Operation
- Select the chamfering level.
- Make sure that the valve is set at “OFF” position and connect the air hose to the tool.
- Hold the housing up. Start the tool.
- Hold the housing and knob firmly. Apply the tool on to the workpieces along with the direction A carefully.
E. Maintenance
- Oil tool at the air inlet and run it for a short time.