
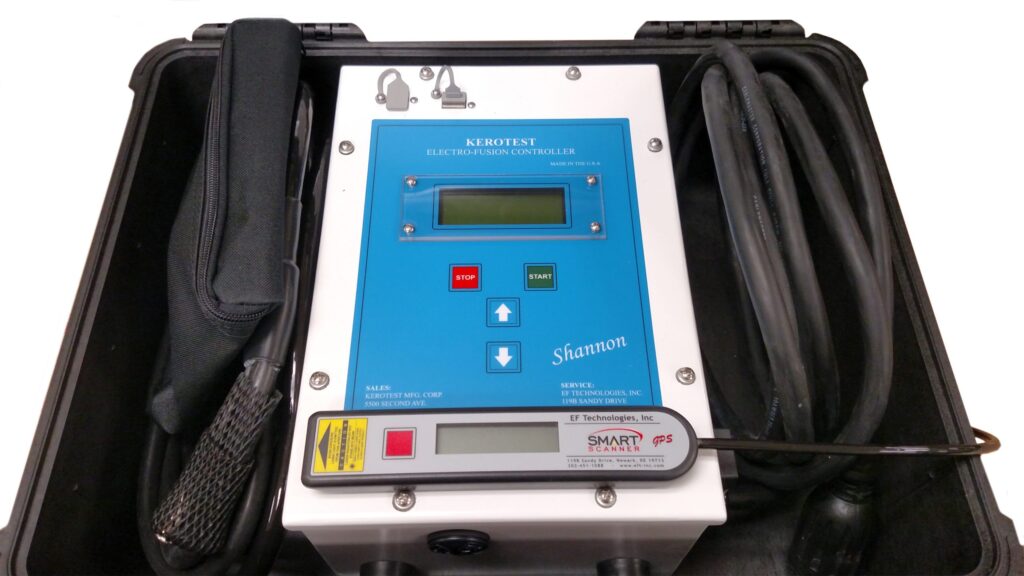
I. Purpose & Scope
To safely and effectively provide instruction on the inspection and proper use of Electrofusion Machines.
II. Definitions
Standard PPE – High Viz Garment, Hard Hat, Z-87.1 Safety Glasses, Gloves, Pants, Work Boots
III. Process
NOTE: Work instruction does not supplement the manual. For specific instructions for the exact model please refer to the owner’s manual.
A. Potential Hazards
- Ensure generator has enough fuel to complete the electrofusion cycle.
- Ensure the auto-throttle is disengaged.
B. PPE
- Standard PPE
C. Inspection
- Inspect for cleanliness and damage before each use.
D. Use
Power Up
- Ensure the Electrofusion Processor is OFF and disconnected from the generator.
- Start the generator. Ensure the generator is running smoothly in high speed manual mode.
- Plug the Electrofusion Processor into the appropriately sized receptacle on the generator.
NOTE: It is strongly recommended that the Electrofusion Processor is the only device being powered by that generator. Do not use an extension cored if it is at all possible. - Press and hold the green button the power switch until the processor powers up.
Barcode Fusions
- From the Connect Fitting screen, secure the correct fitting adapters to the Output Lead Ends.
- Connect both Output Lead Ends to the fitting.
- After measuring the fitting resistance, processor will prompt to scan barcode.
- Remove the scanning device form the protective sheath. Scan the barcode from the fitting about to be fused.
- Verify Setup screen displays the following information:
- The fitting type
- The requested output
- The total temperature-compensated fusion time in seconds.
- Once all measurements and parameters have been verified and correct, press the Start button to begin the fusion.
Manual Barcode Entry
- From the Scan barcode screen, press the up button and the down button at the same time to access the Alternate Fusion selection screen.
- Select the desired method by using the Up button and the Down button. When the desired method is highlighted, press the start button.
- Manually enter the numbers form the barcode label attached to the fitting to be fused.
- After the last character has been entered, select Start.
- Verify Setup screen displays the following information:
- The fitting type
- The requested output
- The total temperature-compensated fusion time in seconds.
- Once all measurements and parameters have been verified and correct, press the Start button to begin the fusion.
E. Maintenance
- Keep the area around the Temperature Sensor clean and free of obstructions by wiping with a soft dry towel.
- Make sure the fitting adapters are clean and properly attached to the Output Lead ends.
- Pull the Output Lead Ends straight off the fitting when disconnecting and avoid side loads.
- Store the barcode want or SMART Scanner in its sheath when not in use.
- Completely charge the batteries after each day that the unit is used.
- If the batteries are not used, ensure they are charged at least once per month.
NOTE: It is recommended that the batteries are left on charge until they are needed.